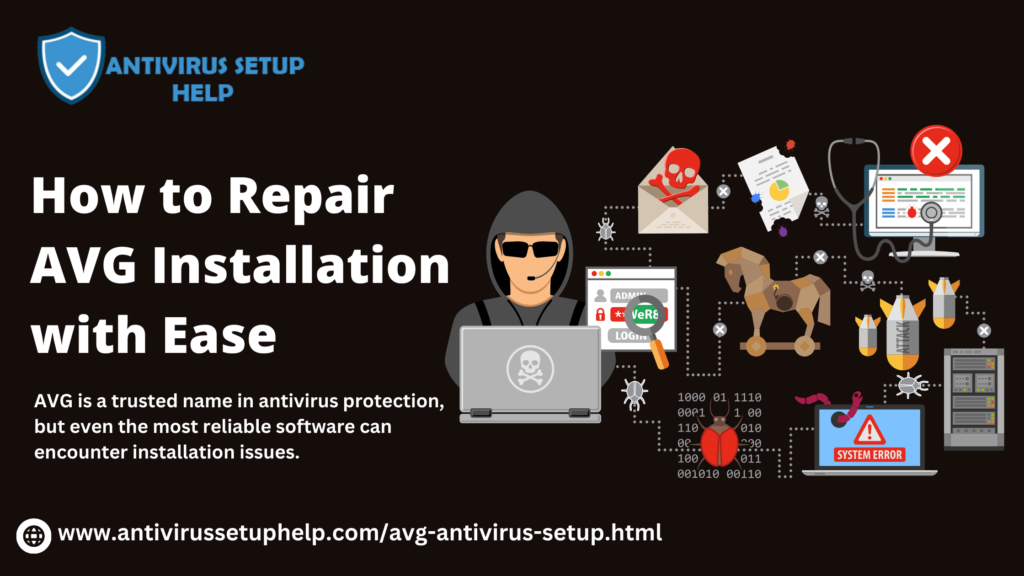
AVG is a trusted name in antivirus protection, but even the most reliable software can encounter installation issues. If you find yourself facing challenges with your AVG installation, fear not—this comprehensive guide will walk you through the steps to repair your AVG setup seamlessly. Let’s delve into the solutions for a smooth AVG com setup help.
1. Diagnosing the Issue:
Before diving into repairs, it’s crucial to identify the specific problem with your AVG installation. Common issues include corrupted installation files, conflicting software, or interrupted installations.
2. AVG com Setup Download and Install:
Ensure you have the latest AVG installation package by visiting AVG com setup. Download the setup file from the official website to guarantee that you are working with the most recent and compatible version of the antivirus software.
3. AVG Installation Help: Step-by-Step Repair Guide:
Uninstall Previous Versions:
- If you have an existing AVG installation, uninstall it before attempting a fresh installation. Use the “Add or Remove Programs” feature on Windows or the “Applications” folder on Mac to uninstall AVG.
Run AVG Removal Tool:
- AVG provides a dedicated removal tool that ensures a thorough cleanup of previous installations. Download and run the AVG Removal Tool to eliminate any remnants of the previous version.
Disable Security Software:
- Temporarily disable other security software on your computer during the AVG installation help process. Conflicting antivirus programs can hinder the installation progress.
Run Installation as Administrator:
- Right-click on the AVG installation file and select “Run as Administrator” to ensure that the installation process has the necessary permissions.
Check Internet Connection:
- A stable internet connection is crucial for a successful AVG installation help. Verify your internet connection and consider temporarily disabling your firewall to prevent any conflicts.
Restart Your Computer:
- After completing the installation, restart your computer to apply the changes. This helps resolve any lingering issues and ensures that AVG functions optimally.
4. Post-Installation Checks:
- Verify that AVG is up to date by running a manual update from the AVG interface.
- Perform a full system scan to confirm that the antivirus is functioning correctly.
5. AVG Customer Service Number:
If, after following these steps, you encounter persistent issues, don’t hesitate to reach out to AVG customer support. You can find the AVG Customer Service Number on the official website for personalized assistance.
Conclusion: Repairing your AVG installation doesn’t have to be a daunting task. By following these steps and leveraging resources like AVG com setup, AVG com setup download and install, and AVG installation help, you can resolve issues efficiently and continue enjoying reliable antivirus protection on your device.